
We used to have a “one-ass kitchen.” That’s what I called the cramped, galley-style layout in place when we bought the house. We couldn’t work together. There wasn’t enough room. And even for one person, there wasn’t enough counter space. When we had to have repairs done to the house last year, we also had the kitchen remodeled. Push back a wall, shift the appliances to a better configuration, and suddenly we had twice as much room to move and a lot more counter space.
Twice as much room to move means moving twice as much. And “more counter space” doesn’t always equal “enough counter space.” It’s like how in the workshop, you never have enough clamps.
We wanted a utility cart to ferry things around and provide additional work surface. Nothing we saw in stores matched our new kitchen. We could get white, but not the same white of our cabinets. We could get a work surface, but not the walnut butcher of our countertops. Having spent so much on remodeling, we weren’t about to accept a mismatched piece. I decided I would build it myself.
Mindset
I’ve built plenty of carts, so I wasn’t worried about that part. But I’d never worked with walnut or built butcher block. I’m not by nature a patient guy, so I urged myself to go slow. I leveraged YouTube and woodworking forums to learn what I needed to know, and asked for advice when I bought the walnut from my friendly local lumber yard. And then I took my time. When I encountered a setback, I reminded myself to take a deep breath and, if that didn’t work, walk away. The moment after a mistake is when I’m most likely to make another. The result was beautiful, and I was really excited to see it on the finished frame.
But first, I had to build it.

Building the Frame
As I had with the top, I went slow. Precision woodworking with a contractor’s table saw isn’t impossible, but it takes extra attention. I checked that everything was square repeatedly throughout the process. I also stopped any time I was frustrated, or tired, or too hot to keep going. Woodworking in a garage with no AC in a Florida summer is no joke, y’all.
I enjoyed the process, and even the occasional setback didn’t dampen my enjoyment. In one instance, I realized that a cut I planned wasn’t safe. The piece was much taller than the rip fence and would be prone to tipping as I guided it through the cut. Worse, I needed to swap the blade guard for a riving knife, exposing myself to the blade.
I really like my fingers. I really like them attached to my hands.
I stared at the setup and pondered how I could make the cut safely and accurately. I thought, if only that rip fence was like… a few inches taller. A YouTube video I’d seen came back to me: I could make an auxiliary fence.
I had a piece of plywood left over from an earlier project that would do. I spent a morning designing the attachment, including how to attach a pair of stock rollers to apply downward pressure on the workpiece while a feather board kept it against the fence. And I included a sliding push mechanism that meant my fingers would never come anywhere near the blade.
I might have over-engineered the solution, but I really enjoyed designing and building it. I had a problem; I solved the problem. That’s satisfying.
More satisfying still was when I finished cutting all the pieces and started assembling the frame. A pile of wood is interesting. But when I saw my vision begin to come together? Friends, that is like when you finally get at that itch in the center of your back and scratch it.

Finishing
It didn’t take long to apply primer and two coats of paint. The paint, when wet, was the same color as the primer, which made it hard to see where I’d already been. I ended up working with a flashlight in one hand and a brush in the other. Anyone walking through the alley behind my garage must have found my contortions amusing.
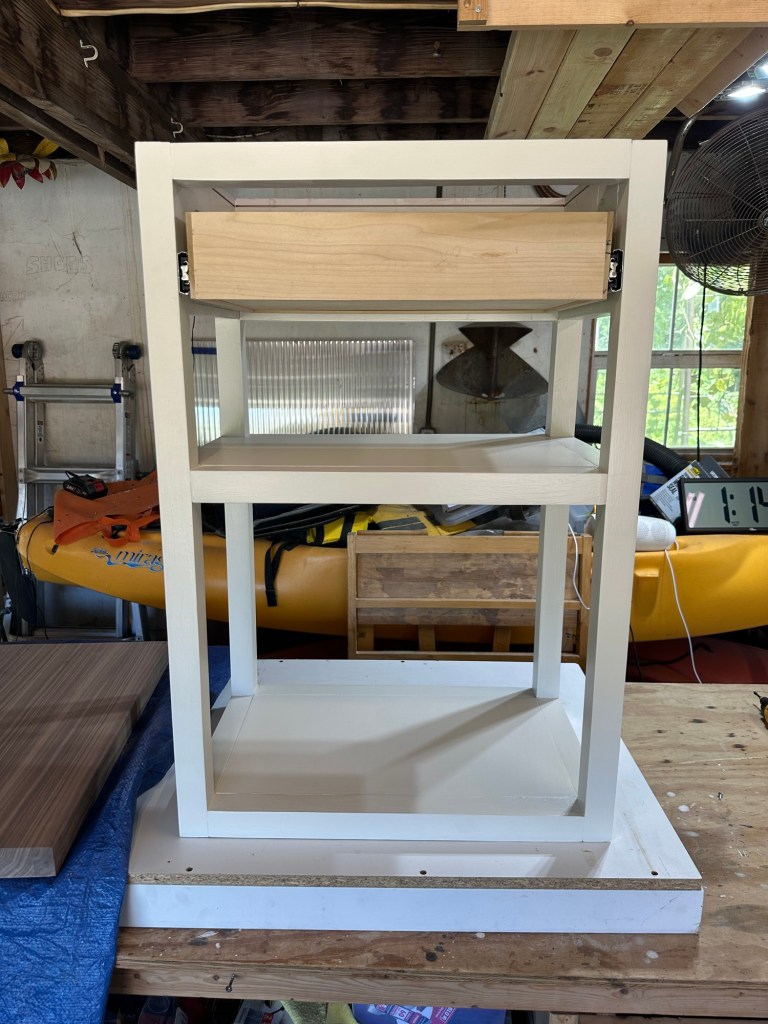
Once it was painted, I was ready to install the drawer, and encounter one more setback. I’d measured very carefully before building the box and deducted the requisite amount to allow for the drawer slides. Or so I thought. After installing the slides, I tried to put the drawer in, only to find it was too tight.
There was much wailing and gnashing of teeth.
I walked away. Yes, I could build a new drawer box. I had enough wood left over for it. But I didn’t want to. I was so close to being done! After I calmed down, I realized I only needed to take a little bit off each side, and I had the right tool: a bench top joiner I almost put up for sale a few weeks earlier because I didn’t think I’d really need it. I set it to its shallowest setting and cut passes on each side until it fit.
Done
After that, it was simple to attach the drawer face, install the casters, and attach the top. For some reason, our new cabinets came with almost twice as many drawer pulls as needed, so I didn’t even have to search for the hardware to make it match. After two coats of food-safe sealer on the top and a 72-hour wait for it to fully cure, it was ready to bring inside.

I smile every time I enter the kitchen. Hey, I built that. Cool, right? And it makes me even happier every night when I ferry dirty dishes from the dining table to the sink in one go, instead of having to run back and forth. I’m glad I took my time, and I’m glad I didn’t settle for something store-bought.
 Semantics & So On